Light Box Backdrops
- Fantastic Legions
- Mar 28, 2021
- 1 min read
Like everyone else, I joined the light box craze a year ago to photograph my figures. But I was never super happy with plain white backdrops. At least, they didn't make my figures look good. I wanted a more realistic landscape background, and was inspired by Thomas Foss's backdrops (over at the Skull and Crown Blog). Thomas was kind enough to answer some questions about the process, and I also watched some videos on YouTube on how to paint skies, as well as a few Art Ross episodes on Netflix or Hulu. This was not my first canvas ever, but I had not painted a canvas since sometime in college with my grandmother, so I knew this was going to be a task.
Armed with a vague idea of what to do, after an expensive trip to Dick Blick, and after having poured myself a nice glass of Absinthe (Édouard Jade 1906) to inspire my inner Impressionist, I was all set to go. Here is the step-by-step trip through this madness...


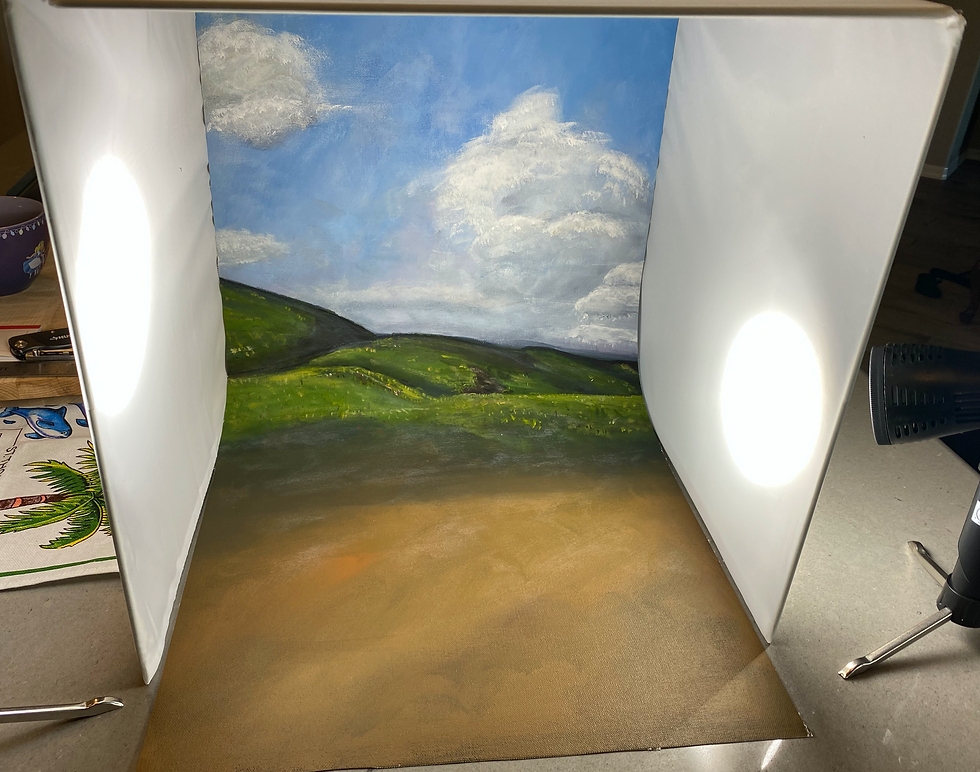
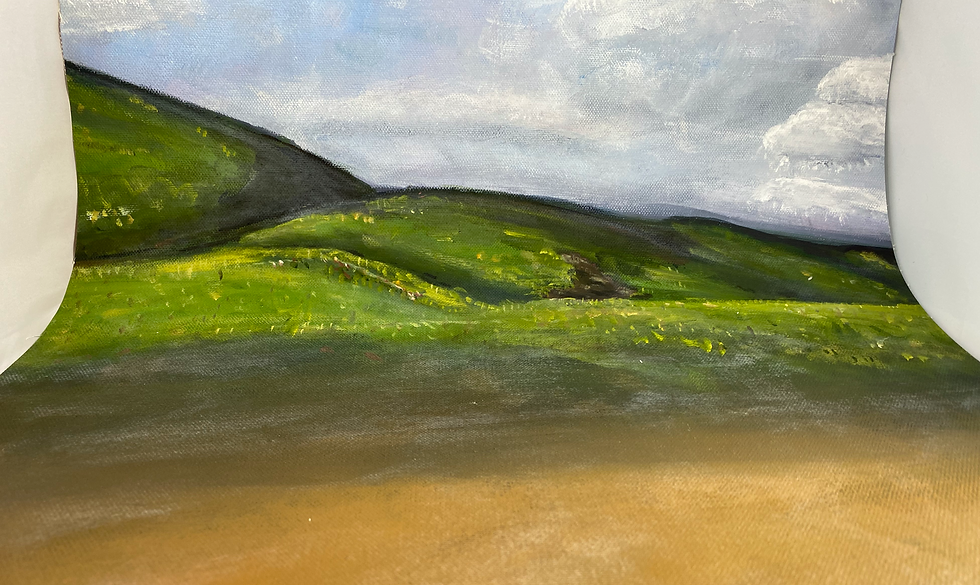
After varnishing the canvas, I cut it off the frame and down to 14 inches wide to fit in my light box, as shown in the next few pics:


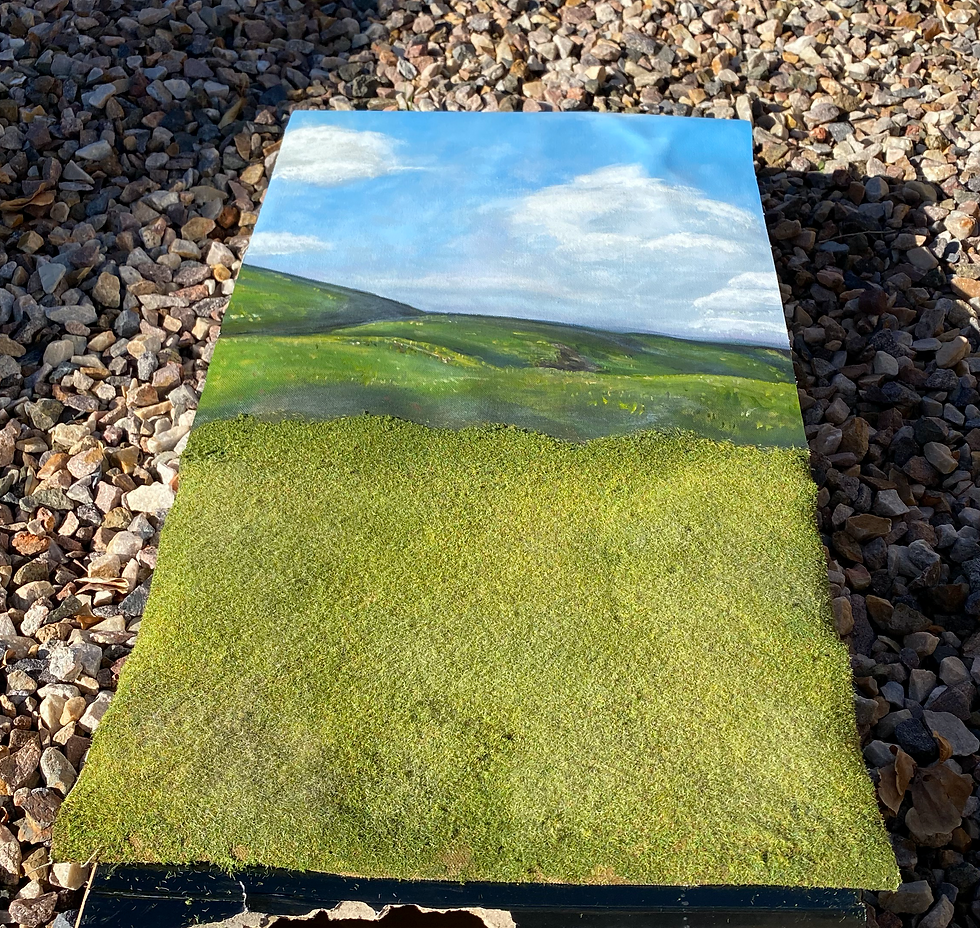
The last step was to add flock and then static grass to the bottom of the canvas, which becomes the “floor" of the lightbox.


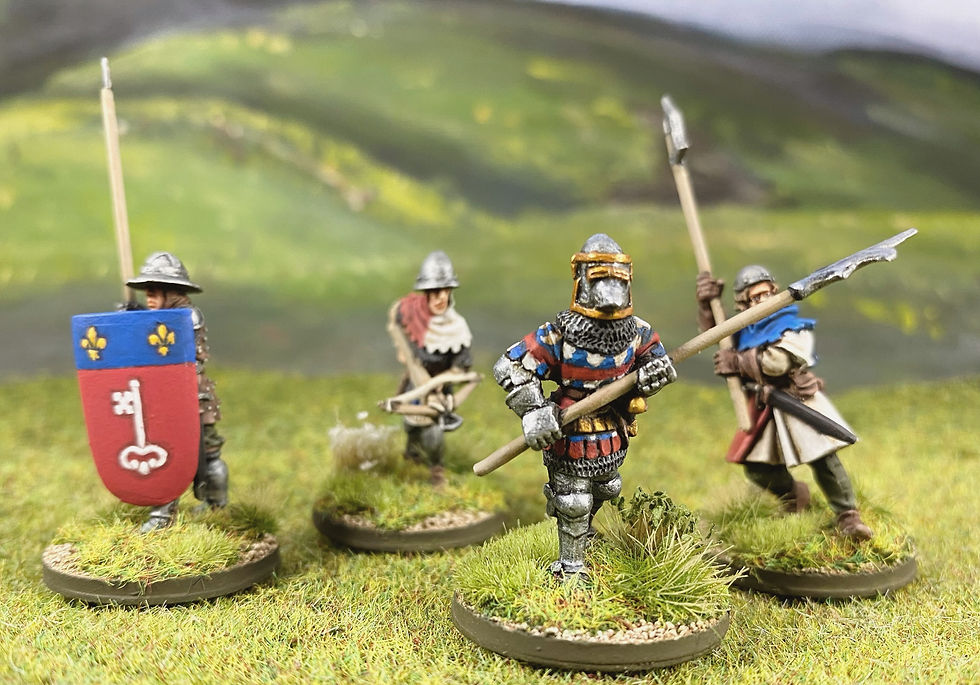
The static grass “floor" is very effective, as you can see that in the following picture showcasing some Claymore Castings 14th century French:

Well that wraps this one up. Hope you like it. Let me know what you think in the comments.


Turned out Superb! I can't wait to see what you do with a Desert or off world pallete.
Cheers!